


Diamonds,
Kites and Stars – a pattern by Reene Witchard
You will need:
2 Fat quarters (FQ) of solids in your choice of
colours for the stars.
48 scraps of fabric at least 3”x 5” for the kites.
12 pieces of fabric at least 3” x 5” for the
diamonds.
Paper pieces
Sewline glue (optional)
NB. Please print off the templates at 100% and
check the measurements of the test square before starting.
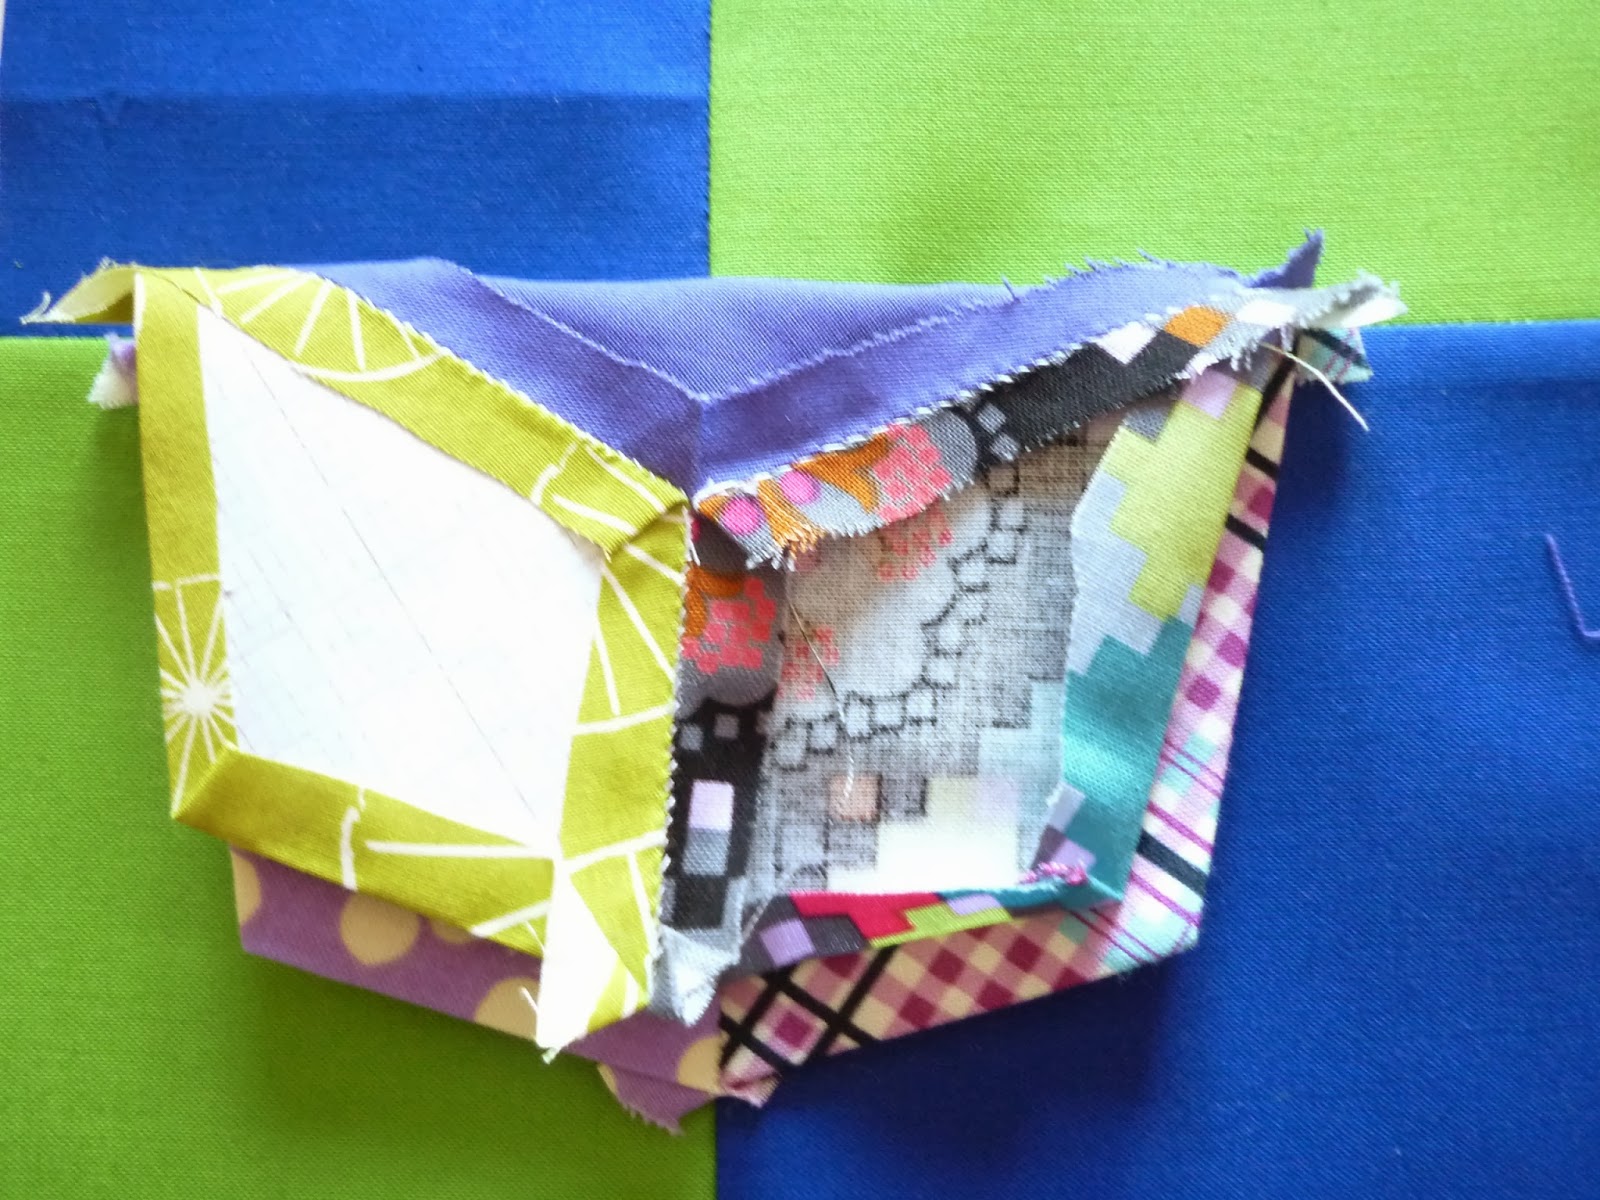
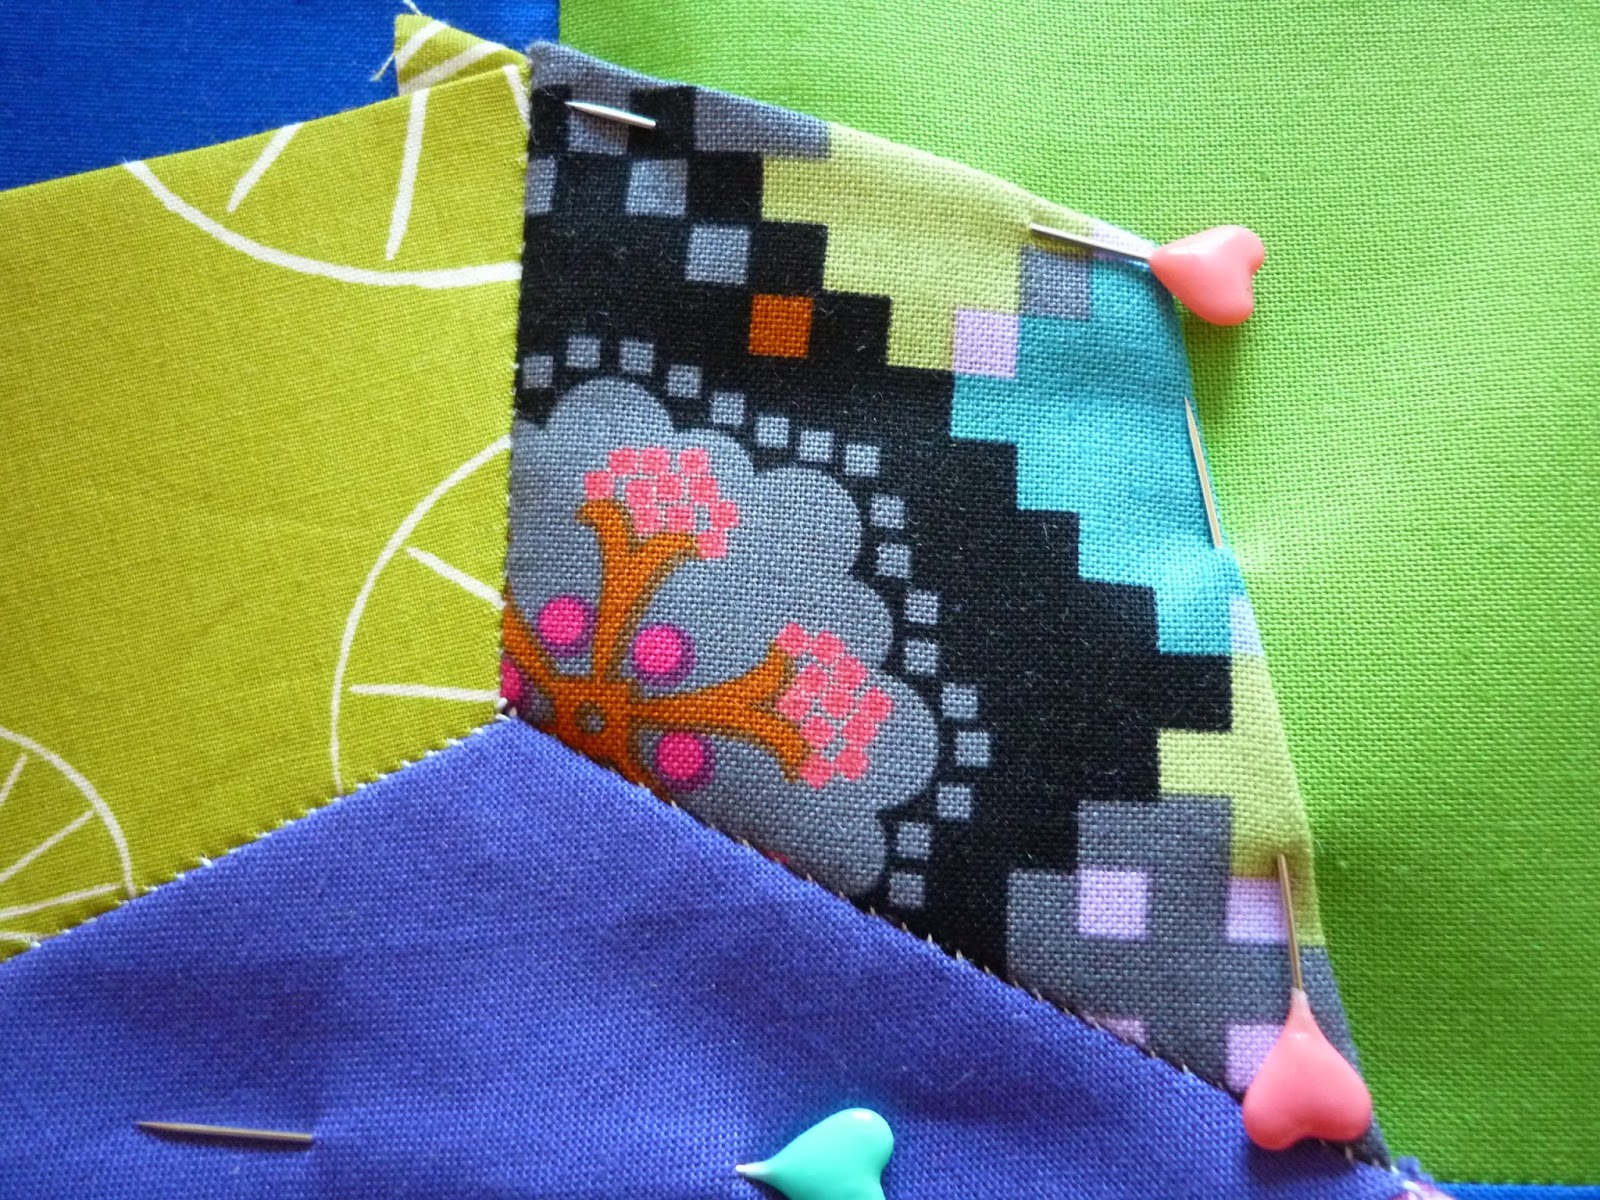
Step 1. For each section you will need 4 kite
shapes and 1 diamond. Baste your fabric to the paper pieces.
Note: I have used Sewline glue to baste, a thin line on each edge of the
shape is all that is needed to keep the fabric in place. It helps to give a
really nice crisp edge which is helpful when it comes to the appliqué stage.

Step 2. Hand-stitch the kites to the central
diamond.
Note: I usually stitch all four kites in place along the long edges then
fold the central diamond to enable me to stitch the short kite edges.

Repeat for all 12 sections.
Step 3. Layout the finished sections, shuffling
around until your happy with them.

Step 4. Cut out the solids for the background.
From each solid FQ:
Cut three 5½” x 7”
Cut three 5½” x 4”
Cut two 3½” x 7”
Cut two 3½” x 4”
Step 5. Layout the background solids as shown
below, then sew them together in rows.

Note: If your EPP sections differ in size to these measurements simply
adjust the seam allowance of the background fabrics accordingly.
Once sewn together you will be using the seams as a
guide to placement of the EPP sections.

Step 5. Take your first EPP section, remove the
paper piece from the diamond.

Line up the seams on the EPP section with the seams
on the solids background. Try to keep the outer points of the diamond in line
with the background seams. Pin in place through the diamond.

Step 6. Remove each of the papers from the kites in
turn.
Pin each kite in place as shown.

Step 7. Appliqué the EPP section to the background
fabric.
Note: I machine appliquéd mine close to the edge but you could hand sew
it if that’s your preference.

Repeat until the first column is sewn in place.

Step 8. Move on to the next column. Try to get the
points of the diamonds as close together as possible so that you can’t see the
solid seam beneath.

Then repeat the process from steps 5 – 7 until all
the remaining EPP sections are sewn into place.

Ta da! Now all you have to do is quilt as desired
and turn it into a wall-hanging or cushion.
I crazy straight-line quilted using the sides of
the diamonds as a rough guide.

Once quilting is finished you can cut the panel
down to size. My finished cushion was 18½” square.

Copyright belongs to Reene Witchard March 2014.
Please do not reproduce the pattern or anything made from it for commercial use
without prior permission.
PDF Diamonds, kites and stars Pattern
PDF Kite template
PDF Diamond template
PDF Diamonds, kites and stars Pattern
PDF Kite template
PDF Diamond template
an excellent tutorial which I have downlaoded and saved in a file for the future, thanks
ReplyDeleteOoh I have been lusting after your cushion so now I can make my own. Thank you for the pattern. Di x
ReplyDeleteThis is gorgeous! I am so going to try to make a pillow this summer with your pattern! Thanks for the pattern!!
ReplyDeletesusie