Showing posts with label glue basting. Show all posts

Sunday, 3 May 2015

Hexiestar tamed

Before I launch into the latest month of the Nellie's Niceties Mystery BOM  I thought I'd update you on the continuing saga of the trapped nerve. It turns out that I have 4 bulging discs in my neck and degeneration in 5 of the bones in the same area of the neck. Just in case that wasn't enough I've also got 3 partially torn tendons in my shoulder, nerve impingement, tendinitis and bursitis. According to the physio the shoulder injuries were probably caused by sewing related tasks. Who knew that quilting is an extreme sport?! Needless to say I feel justified in the amount of moaning I've been doing about the pain I've been experiencing ;) I'm now awaiting an appointment with the specialist but I have been warned not to expect them to be able to help. To top it all off Jess is having a rough time too and is currently awaiting an MRI. Such fun! If things are quiet around here you'll know why. I'm still very active over on Instagram though as that doesn't involve as much time or planning.
Right, now on with the BOM.
This month I've re-visited an old favourite, the Hexiestar and given it a bit of a face-lift to make a 12" square block.
As usual it produces a secondary pattern when combined in multiples.
You'll find the free PDF templates, info sheet, block layout and colouring sheet on our website. I like to layout my paper pieces in advance so I fiddle around with placement if I'm using prints. 

Thankfully I'm using solids this time. I glue baste all my pieces because I like the speed and precision it gives. One of the most common questions I've been asked about piecing the Hexiestar is how I baste the narrow triangles, so here's a pic to show you. 

I generally start by piecing all of the narrow triangles to the hexagon, then filling in the gaps as I go but in order to get some daylight progress shots I skipped that plan this time. I do recommend referring to the block layout sheet as the pieces are not equal sizes in the Hexiestar Tamed block. 
When filling in the gaps I start at the base of the narrow triangle and work my way out to the  point.
When it comes to capturing the point of the narrow triangle you can start at the point and work your way back down to the base of triangle if you are nervous about it.
I'm usually gung-ho about it though and just catch the two in-fill triangles together when I get to the point.
Continue until the hexiestar is complete, then "tame" it by adding the corner triangles.
Ta-da. One Hexiestar Tamed block.
If you decide to join in I'd love to see your versions and it would be great to be able to share some more of your work here along with our Flickr group and of course on Instagram #nelliesnicetiesmysterybom #hexiestartamed. Tell your friends, the more the merrier :) 
Catch you soon x
 
Edited to add: You can now find bonus 6" Hexiestar Tamed templates on the Mystery BOM page of our website. You're welcome, enjoy! x

Sunday, 25 May 2014

What a week!

There has been plenty of time to catch up on blog reading and crappy TV this week due to enforced bed rest, again (stomach bug, nothing serious)! I should have been chained to the sewing machine or pattern writing but instead, in between nana naps, I got on with a new EPP project. Since discovering glue basting the whole EPP thing really appeals to me in a way that it didn't before. As you know I'm fairly limited on the patience front, so the ability to crack on with sewing blocks together without spending hours tacking through shapes only to have to spend yet more hours unpicking everything is liberating! After finishing up my Hexiestars cushion I needed a fun new EPP project, so I drew up a plan on TouchDraw. I love tessellating shapes and wanted something a bit more testing than triangles and hexagons this time so I've used hexagons, pentagons and an octagon. I dragged out a pile of super bright solids and some of my favourite scraps and set to work on the first block. (Disclaimer: This picture is actually the second block because I forgot to take a picture of the first one with my camera, you can find the original block on Instagram.)
I've called it Tessellated Madness...because the line drawing in TouchDraw looked crazily complicated. This block actually goes together very quickly and I'm quite enjoying the process. The interlocking block that joins multiples of this block together is even quicker as there are only five pieces to it. I forgot to take a picture of it on its own but I'm sure you'll be able to work it which bits belong where, the green central block has 4 pentagons attached to it :)
 Very straightforward really...
...they fit together with a little help from a tiny diamond where you see the white gap in the centre of those four hexies.
Like so...
Within very little time I'm at this stage:
I just need to fill in the gaps around the outside now :) Not such a bad week up until this point if you disregard the stomach bug, then yesterday hubby and his motorbike parted company on a bend in the road! I'll cut a long story short to say that he's been exceptionally lucky to walk away with minor, albeit painful, injuries. He spared me the telephone call and the visit from the police and somehow managed to ride home. Needless to say it was a bit of a shock all round but we're very grateful that it wasn't more serious!

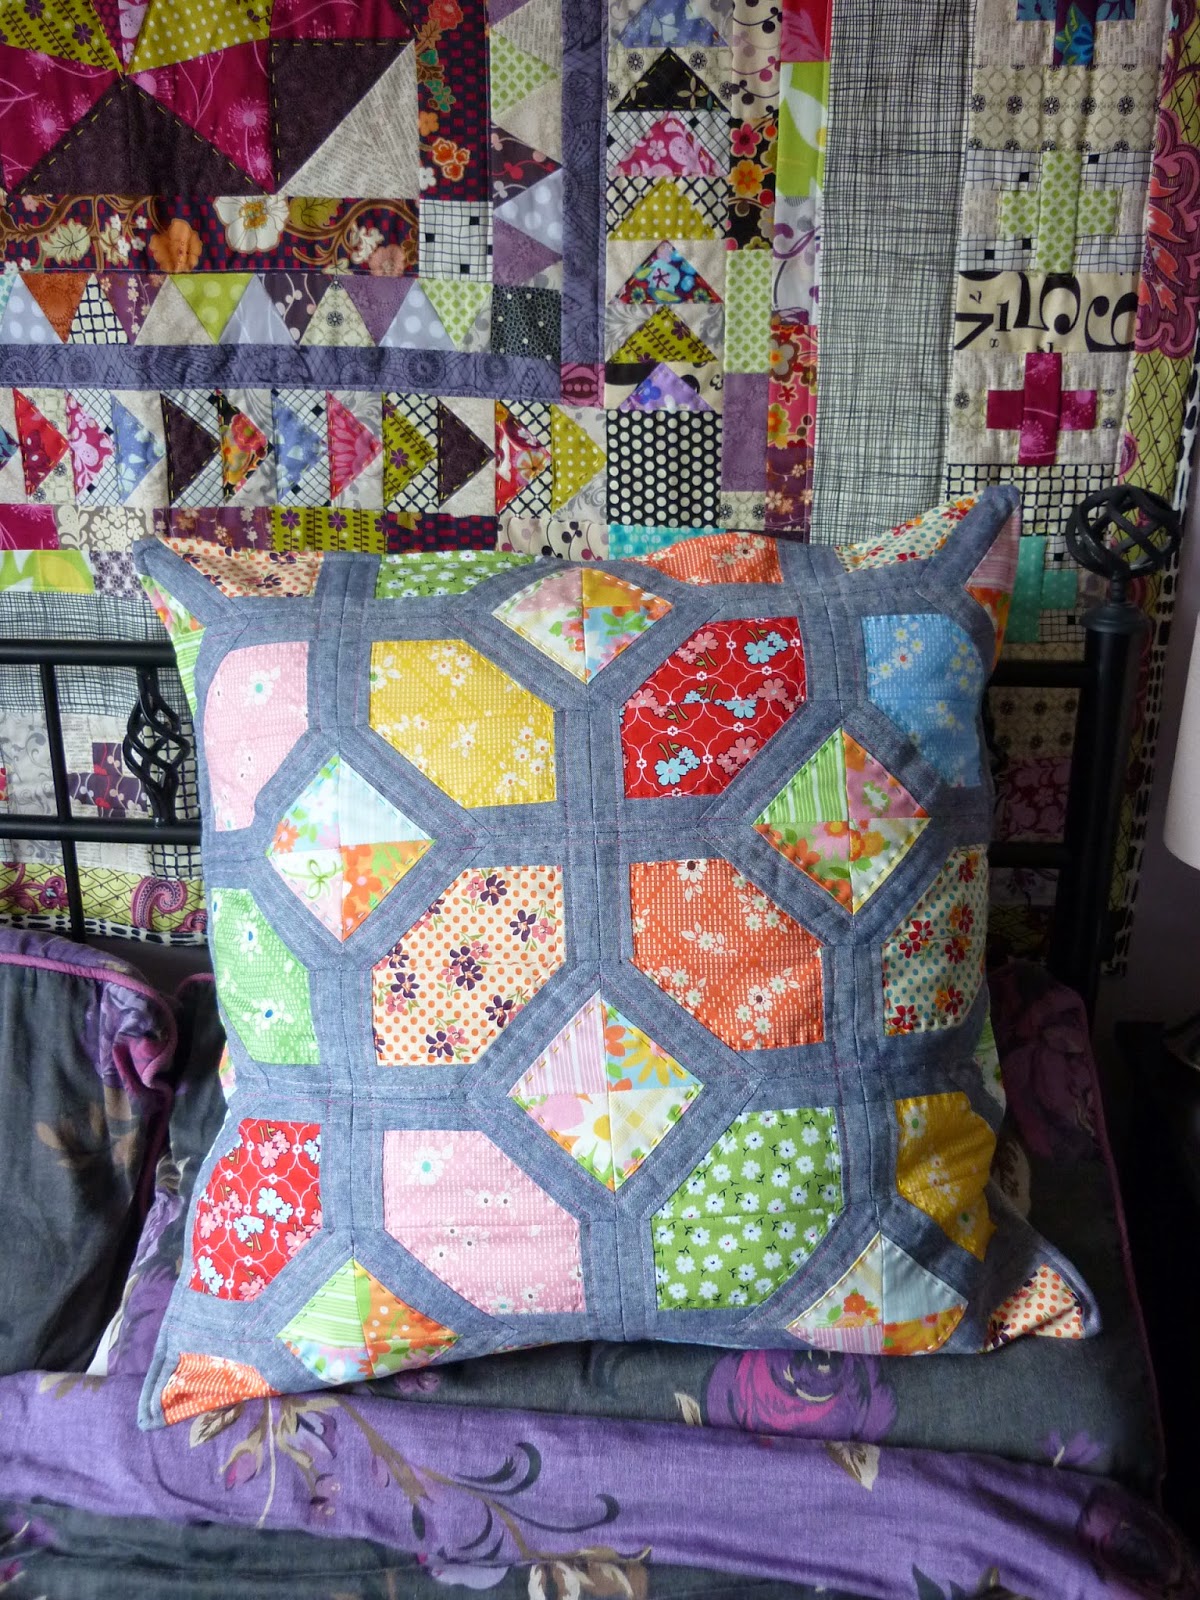
Today, I gave hubby a break from my constant nagging about painkillers and sat at the sewing machine for the first time in a while. I finally turned the Nellie's Knots top into a cushion for Catrin...
...and the mini Nellie's Knots into a little something for Sarah. Thanks ladies for being so patient!
I'm hoping for a much more pleasant week this week as I have many deadlines approaching which require serious attention. I could definitely do without any more stressful distractions! Catch you soon x